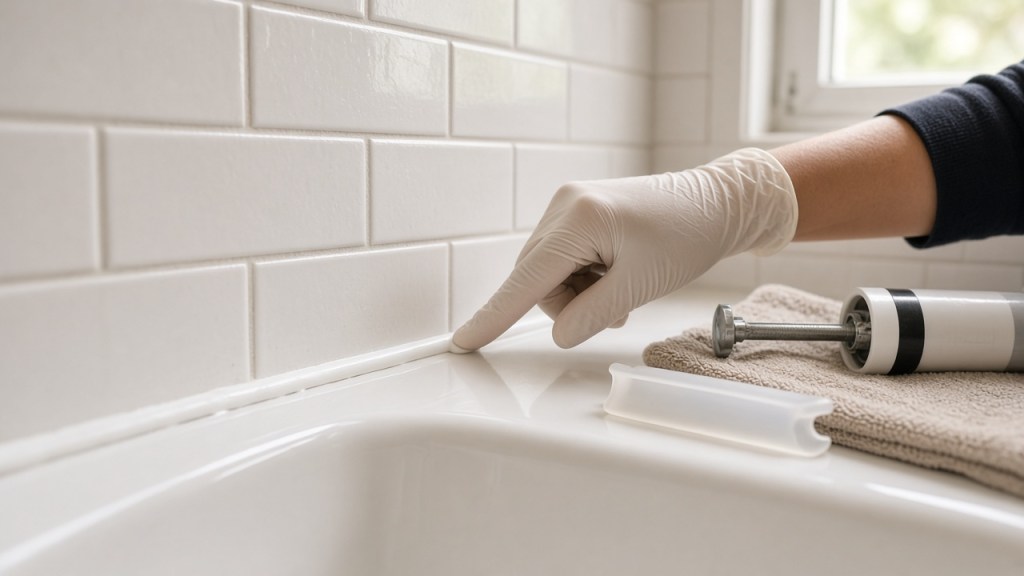
When black lines creep along a tub lip or a shower surround starts to peel at the corners, Owensboro and Henderson, Princeton and Boonville, Tell City and Newburgh, and Carmi homeowners usually need a joint-inspection habit, not a full bath remodel. Across the ~60-mile Tri-State (Evansville as the hub, plus Mount Vernon IN in Posey County and Mount Vernon IL in Jefferson County, a different city), failed tub and shower caulk is a fixable moisture path that goes hand in hand with good exhaust-fan habits, long before you assume every tile has to come off.
This guide covers tub and shower caulk inspection basics. It is not a mold-remediation protocol, not a caulk brand ranking, and not a made-up Tri-State “bathroom waterproofing package” price list. A fresh bead fails faster when the room stays steamy, so plan to clean the exhaust fan and run it during and after every shower. If whole-house humidity is high, our guide to basement moisture and waterproofing is the bigger-picture companion, and P-trap cleaning under the sink pairs well for under-sink odors. Tri-State Homeowner Report is homeowner media and a matching service, not a remodeler or mold contractor. When you want local help, browse the contractor directory or request a contractor; for seasonal reminders, subscribe.
What this inspection is (and is not)
| Habit | What it is | What it is not |
|---|---|---|
| Visual and fingernail check | Gaps, peeling, crumbly bead, dark mildew lines at tub-to-tile and surround joints | A full waterproofing-membrane redesign behind tile |
| Moisture triage | Failed surface seal vs. under-ventilated steam vs. soft or spongy walls | Bleach “cure” claims or DIY mold remediation over large areas |
| Re-caulk lane | Remove old bead, clean and dry, apply 100% silicone kitchen-and-bath sealant, cure before showers | Layering new caulk over a failed bead |
| Ventilation habit | Running the exhaust fan during and after showers so new seals last | Fan “fixes” that dump moisture into the attic or house |
The U.S. Environmental Protection Agency’s Brief Guide to Mold, Moisture and Your Home frames bathrooms as moisture-heavy rooms: mold needs moisture, so keep indoor relative humidity below 60% when possible (ideally 30–50%), run the bathroom fan or open a window when showering, fix the moisture source, and dry wet materials. EPA bathroom guidance notes that if mold keeps reappearing in the shower, more ventilation and more frequent cleaning usually keep growth to a minimum. CDC mold guidance lines up: fix the water problem and clean mold before painting or sealing over stained surfaces.
What you see and what it usually means
| Cue | Likely read | First move |
|---|---|---|
| Hairline gap or daylight at the tub lip | Bead lost adhesion | Re-caulk after a full remove and dry |
| Peeling ribbon of old caulk | Failed bond; water may track behind | Do not smear new product over it |
| Crumbly or sticky bead | Aged product past its useful life | Replace the entire continuous joint |
| Dark lines on or under the bead | Surface mildew and/or trapped moisture | Clean, lower humidity with the fan, get a pro if walls feel soft |
| Loose tile or hollow tap near the joint | Possible moisture in the wall behind | Get a pro; surface caulk will not rebuild a wall |
| Musty odor after showers | Steam plus failed seals plus a weak fan | Check the fan and the joints the same weekend |
| Water stains on the ceiling below an upstairs bath | Leak path beyond a cosmetic bead | Get a pro promptly; stop the DIY loop |
A yearly (or seasonal) inspection walk
- Pick a dry day after the bathroom has aired out; steam hides gaps.
- Walk every wet joint: tub or shower base to wall, corners, around soap niches, and where a surround meets the tub deck.
- Run a fingernail gently along the bead. Soft, sticky, or crumbling product means replace it; gaps you can feel mean it has failed.
- Look for peeling edges and dark streaks that come back after cleaning.
- Tap nearby tile lightly. Hollow or loose tile next to a failed joint is a reason to stop and call a pro, not a reason to add more caulk.
- Check the exhaust fan on the same visit: grille dust, the outdoor vent, and a timer habit during and after showers.
- Set a calendar reminder. Busy households often skip joints until black lines are obvious.
Consumer bathroom guidance commonly treats 100% silicone kitchen-and-bath sealant as the right class for wet areas (flexible, waterproof, and often mildew-resistant), distinct from porous grout and from ordinary latex painter’s caulk that isn’t rated for constantly wet joints. Always read your product label for surface prep, tooling, and cure time.
Re-caulking, step by step (homeowner scale)
Follow the sealant maker’s instructions when they differ. Work with gloves, a utility knife or caulk-removal tool, cleaner, an alcohol wipe (if your tub maker allows it), painter’s tape if you want clean edges, and paper towels.
- Remove the old bead completely. Slice, pull, and scrape off the residue. New silicone over cured silicone is a common peel failure.
- Clean off soap scum and residue, then rinse and wipe. Deal with mold staining and the moisture source before you seal over a dirty joint.
- Dry the joint thoroughly, from a few hours to overnight with the fan running if the room stays humid. Silicone bonds poorly to damp seams.
- Optional: fill the tub with water before caulking a tub-to-wall joint so the gap sits near its loaded width (a common trade tip). Follow your tub or surround maker’s notes.
- Apply one continuous bead of bath-rated 100% silicone, tool it smooth, and pull the tape while the bead is still wet.
- Let it cure fully per the label, often about 24 hours before water and sometimes longer in cool, humid rooms. A surface skin is not a full cure.
- Keep the fan running during and after showers so the new bead isn’t steam-soaked every morning.
A word of caution: if you find spongy drywall, a soft subfloor, widespread mold behind tile, or an active leak, stop. EPA guidance treats large or hidden mold growth and water-damaged materials as beyond casual DIY sealing. Browse the contractor directory, check plumbing pros in the directory, or request a contractor.
How often to check and re-caulk
- Inspect at least once a year, and after a guest bath has sat unused for a while or mildew comes back.
- Re-caulk when gaps, peeling, or crumbly product show up, not on an arbitrary calendar. Heavily used, poorly vented baths fail sooner.
- Pair it with a fall fan check when you walk exhaust grilles and timers.
- Pair it with descaling the showerhead and fixtures when mineral buildup is the weekend’s other job.
DIY or call a pro?
Homeowner scale when: joints are easy to reach, walls feel solid, the fan vents outdoors, and you can fully remove, clean, and dry the joint before laying a bath-rated silicone bead.
Call a pro when: walls or floors feel soft or are stained; tile sounds hollow across an area; mold returns soon after fresh caulk; there are leak stains on a ceiling below; the surround is glued and you can’t safely open it; or anyone in the home has a health concern tied to mold exposure. Seek appropriate medical care for that; this page is not clinical advice.
A note on costs (no made-up Tri-State prices)
Tubes of kitchen-and-bath silicone, removal tools, and a remodeler visit to investigate a wet wall are national retail and service estimates until you have a local shelf price or a written quote. The inexpensive humidity meters EPA mentions (often discussed at roughly $10–$50 nationally) are an estimate for humidity awareness, not a Tri-State quote. You won’t find invented Evansville, Henderson, or Owensboro “bathroom re-caulk package” prices here. Ordinary like-for-like re-caulking of a tub or shower surface isn’t typically treated as a building-permit project.
Sources and further reading
- U.S. EPA, A Brief Guide to Mold, Moisture and Your Home (humidity targets, bathroom fan or window, fix moisture first, recurring shower mold and ventilation)
- CDC mold cleanup guidance (fix the water problem; clean before painting or sealing)
- Related on this site: basement moisture and waterproofing and P-trap cleaning under the sink
Keep the bead and the room dry
Inspect first for gaps, peeling, crumbly product, and dark lines. Then remove, clean, dry, apply silicone, and let it cure, with the exhaust fan running so steam doesn’t undo the work. For seasonal reminders like this one, subscribe. When walls feel soft or a leak shows up on the floor below, browse the contractor directory or request a contractor.
