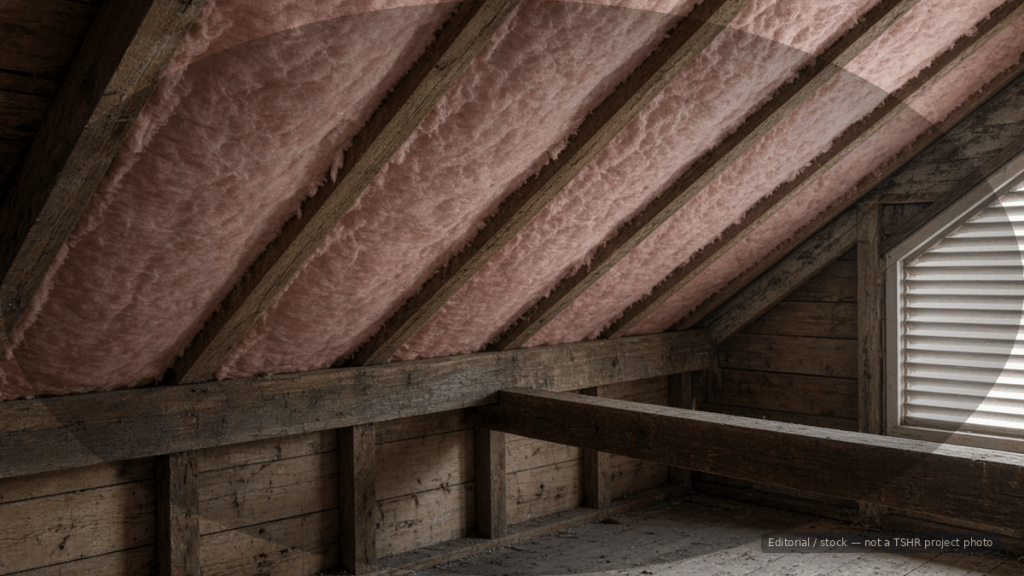
Many Tri-State houses built before modern energy codes have attics that look “insulated” until you notice joists still peeking through thin batts—or bare spots at the eaves. In a mixed-humid climate with hot summers and real heating seasons, the attic is often the highest-payoff envelope upgrade a homeowner can plan.
This guide covers how to check what you have, ENERGY STAR retrofit R-value targets, air sealing before adding fluff, and hiring variables. Tri-State Homeowner Report is editorial + matching—not an insulation contractor. Pair with the seasonal calendar (attic moisture peek) and HVAC replace-before-failure (ducts and load sizing).
Climate context: Zone 4A mindset
Evansville / Vanderburgh and much of the nearby Tri-State are commonly mapped in IECC Climate Zone 4A (mixed-humid). That designation drives recommended insulation levels in ENERGY STAR retrofit tables. Confirm your address on official climate-zone tools if you live near zone edges, but 4A is the working assumption for Evansville-area education pieces.
Why it matters here: You pay for both summer heat gain and winter heat loss. Humid air leaking into attics can also create moisture problems when it hits cold surfaces.
ENERGY STAR attic R-value targets (retrofit)
ENERGY STAR publishes recommended insulation levels for retrofitting existing wood-framed buildings. For Zones 4A and 4B:
| Existing attic condition | Add insulation to reach (attic) |
|---|---|
| Uninsulated attic | R-60 |
| Already have about 3–4 inches | Add enough to reach about R-49 total |
Source: ENERGY STAR “Recommended Home Insulation R–Values” table (based on IECC residential provisions guidance noted on that page).
Quick field check from ENERGY STAR’s adding-attic-insulation guidance: if you can easily see the floor joists, you likely need more; if insulation is well above the joists and even, you may already be in a better place — still verify depth and gaps at eaves.
Air seal first—then insulate
Blowing cellulose or fiberglass over big air leaks wastes money and can worsen moisture transport. Before adding depth:
- Seal top plates, wire/plumbing penetrations, and gaps around chimneys (use fire-safe materials where required).
- Address recessed lights, bath fans, and attic hatches (weatherstrip the hatch; insulate the cover).
- Confirm kitchen/bath fans duct to outdoors, not into the attic.
- Keep insulation away from heat-producing devices per manufacturer and code clearances (e.g., some recessed fixtures, flues).
Building America and ENERGY STAR DIY seal-and-insulate materials emphasize this order for a reason: insulation slows conduction; air sealing slows the bulk movement of conditioned air.
Ventilation and eave baffles
Most older Tri-State homes use vented attics. When you add insulation:
- Install rafter vents / baffles so insulation does not block soffit intake.
- Keep a clear path from soffit to ridge (or other exhaust vents).
- Do not bury bathroom fans or leave disconnected ducts dumping moist air into the attic.
Converting to an unvented conditioned attic (spray foam at the roof deck) is a different design—hire someone who understands mixed-humid detailing, vapor control, and code. It is not a casual DIY swap.
What older homes often get wrong
- Thin batts only between joists — thermal bridging and low total R.
- Gaps and compressed batts around wiring.
- Missing coverage at eaves (hard to reach without baffles).
- Knee walls in cape/bonus rooms left uninsulated or un-air-sealed.
- Ducts in attics with little insulation and leaky joints—raising HVAC loads (coordinate with HVAC pro; Manual J thinking when replacing equipment).
- Moisture stains ignored—fix roof leaks before burying evidence under new blown-in. See roof repair vs replace.
DIY vs. pro
Homeowner-reasonable: Measuring depth, photographing problem spots, weatherstripping the attic hatch, simple air-sealing of accessible penetrations with appropriate materials.
Pro territory: Blown-in whole-attic jobs, spray foam, electrical/recessed-light remediation, chimney/fireblocking details, and anything involving disturbed vermiculite or suspected asbestos-era materials—test first if your vintage home might contain hazardous insulation. Do not stir unknown dusty insulation without guidance.
For hiring help, use the contractor checklist and browse the contractor directory or request a contractor.
Cost variables only (no invented local prices)
Quotes usually move with:
- Attic square footage and target final R-value
- Existing material removal vs. overlay
- Air-sealing scope and number of penetrations
- Baffles, damming around hatches, storage platforms
- Knee walls, vaulted ceilings, or low clearances
- Duct sealing/insulation add-ons
- Access difficulty and jobsite protection
- Testing (blower door) if bundled with a broader audit
Ask for starting depth, finished depth/R, material type, and air-sealing line items in writing—see how to read a quote.
Federal/tax and utility incentives for insulation change over time. ENERGY STAR and DOE consumer materials discuss credits and programs periodically—verify current eligibility before you subtract incentives from a bid. Not tax advice.
Comfort, bills, and ice-related side benefits
DOE Building America insulation renovation guidance notes that heating and cooling dominate many household energy budgets, and that insulation plus air sealing can deliver meaningful whole-house savings—often discussed in roughly 10–20% ranges in older DOE/EPA summaries for proper work, with higher potential when starting from little/no insulation. Treat percentage savings as estimated ranges, not a guarantee for your meter.
Better attic performance can also reduce uneven rooms and lower the roof-deck heat that contributes to ice-dam conditions — still address gutters and roof drainage separately (gutter fall prep).
Next steps
- Measure or photograph current attic insulation depth.
- Note stains, pests, open penetrations, and blocked soffits.
- Get 2–3 written bids that include air sealing.
- Time the work for milder weather when possible.
- Subscribe for more Tri-State homeowner guidance.
Bottom line
For older Zone 4A Tri-State attics, aim toward ENERGY STAR’s R-49 to R-60 retrofit neighborhood, air-seal before you bury leaks, protect ventilation pathways, and hire carefully when the job leaves the hatch-and-flashlight stage. Insulation is one of the quietest comfort upgrades you can make—when it is detailed correctly.
Sources
- ENERGY STAR — Recommended Home Insulation R–Values
- ENERGY STAR — Adding Attic Insulation
- DOE Building America — Energy Renovations Insulation guide (PDF)
- DOE / ENERGY STAR — Consumer Guide to Home Insulation (PDF)
- Building America Solution Center — Batt Insulation for Existing Vented Attics
Find a local contractor
Browse the Tri-State contractor directory by trade, or tell us what you need and we will hand it to one local contractor in your area. Free to you — contractors pay us, you never do.

Leave a Reply